AMIGURUMI POP TART
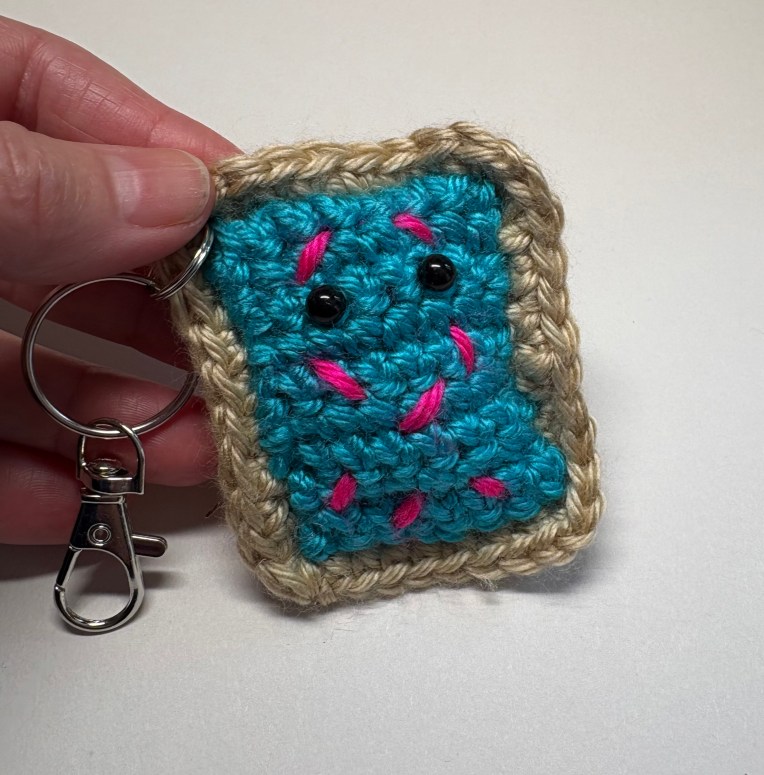
Materials: 5mm crochet hook (size H), scissors, a yarn needle, a stitch marker/stitch lock, #4 medium weight yarn light brown/tan*, #4 medium weight yarn bright blue (or whatever color your icing is)*, #4 medium weight yarn bright pink (or whatever color your sprinkles are)*, black yarn/safety eyes/ fine tip sharpie for the eyes (whatever you prefer or have), and finally fiber fill or scrap yarn for stuffing to shape your creation.
*I used Caron Simply Soft Yarn in bone, black, neon pink and cobalt blue
Terminology: SL (slip knot) CH (chain stitch) SC (single crochet stitch)
- For the body of your pop tart start with your tan yarn. Make a SL (slip knot), insert your hook into the SL and make 8 CH (chain stitch). Do one additional CH as a turning stitch. You will make a CH as a turning stitch at the end of each row when you are working back and forth in a piece to keep the sides even. When you make a row of CH it is your base and does not count as your first row. For video tutorials on how to complete a CH and every other stitch you can go to my crochet basics page.
- Row 1- Turn your work, you should have a loop on your hook (that would be your turning stitch). Insert your hook into the first CH in the row counting from the loop on your hook (not including it). You should have your loop and the CH on your hook. Yarn over your hook, make sure to go all the way around with your yarn so you keep it on the hook, then pull through that CH. You should have two loops on the hook now. Yarn over again and pull through both those loops. You have completed your first SC (single crochet stitch). Repeat this 7 times to end the row with 8 SC. You do not work at stitch into your SL. Now CH one to make your turning stitch
- Row 2-Row 10 Repeat what you did in row 1. To keep track of the number of Rows you have completed you can use a pencil and a small piece of paper. Make sure if you are putting your crochet down to put a stitch lock/marker in it so it does not unwind. You can buy one of these at a store or when you are starting out you can use a bobby pin or safety pin.
- When you got to the end of Row 10 CH one. Do not turn your work to go back, instead work in SC stitches all the way down the side of your piece. When you are inserting your hook make the 8 SC on each side, inserting your hook in aproximately each row. When you come to the bottom corner CH one. Make 8 SC along the bottom edge of your piece and CH one. Now make 8 SC up the side of your piece and CH one again. Make the last row of 8 SC along the top of your piece. This creates a cleaner edge on all 4 sides. Leave a 6-inch tail on your yarn, cut it off, and pull it through the loop that was on your hook to secure a knot. Again, for instructions on how to do all these stitches and other information there are pictures and video tutorials at my crochet basics page.
- Using your blue yarn, or whatever color you chose for the icing, repeat steps 1 through 3. Don’t make a SC edge on this piece. This Time leave a 16-18 inch tail of yarn that you will use to secure the icing to the pop tart body. Cut the long tail and pull that through the loop on your hook to secure a knot.
- Almost done- you got this 👍 Before we put the icing and front piece together now is a good time to hide any tails that you have hanging out. The body of the pop tart should have two tails, where you finished your last row at the top and one at the bottom. Thread each of those tails on your yarn needle and weave them into the back of your piece, do so for at least an inch or more to secure it neatly then snip it close to the piece (be careful not to snip your crochet). When you pull gently on the piece the end should disappear into the yarn you worked the tail in. Do the same for the other tail on your pop tart body.
- Choose a front/back or inside/outside for your icing. Secure the short tail where you started on the inside of the icing using your yarn needle the way you did in step 6. Don’t hide the long tail as you will use that later.
- Now the fun part 👏 Icing and Eyes 👀 Get a 16-18 inch piece of your bright pink yarn (or whatever color your sprinkles are). Thread your needle and secure the yarn with a knot to the inside of the icing making sure to leave plenty of yarn to make the sprinkles on the front. Make the sprinkles using your yarn needle to sew the sprinkles on working from the inside to the front and then back in again. Finish on the inside of the icing and secure another knot. If you are using safety eyes or back yarn to create the eyes do so now.
- Next you will use that long tail on your icing to sew your icing onto the front of your pop tart body. Start in one corner at the bottom, working almost all the way around, but leave a small opening to stuff some scrap yarn or fiber fill in at the end. Be careful not to overstuff. Finish Sewing your icing on and secure a knot. Then pull that last tail into the center of the fiber fill or stuffing of your pop tart, leave a little tail and snip it off with scissors. It should sink back into the piece.
- Ta dah! You have an amigurumi pop tart. Use it as a door hanger, get an attachment and use it as a keychain, or just decorate your desk with it.
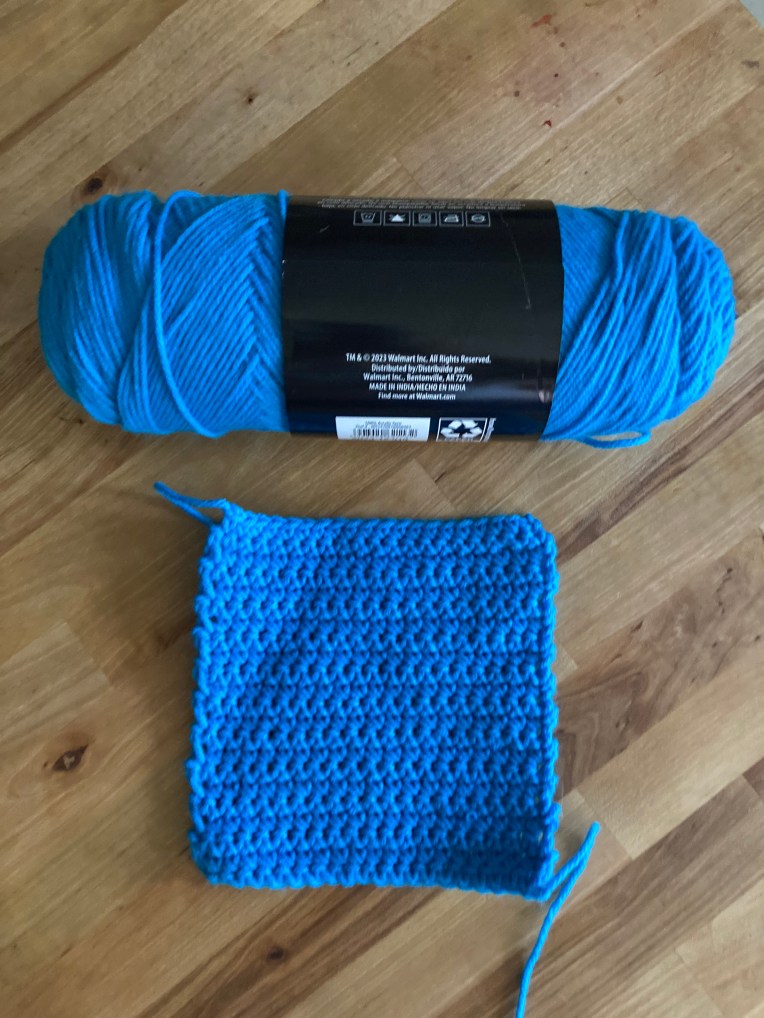
CROCHET BLOCK PARTY PATTERN
These blocks are being used to create a quilt made by members of a crochet group that meets at our local library. For video tutorials on how to complete all the stitches used in this pattern and more go to my crochet basics page.
Materials: 5mm crochet hook (size H), scissors, a yarn needle, Mainstays #4 medium acrylic yarn any color. Gauge: 10 stitches and 11 rows are 3”x 3”
Terminology SN (slip knot) CH (chain stitch), SC (single crochet)
1. . Make a slip knot SN (slip knot) CH (chain stitch) 22 stitches. CH one additional stitch as your turning stitch. *every row will end with a CH as your turning stitch to keep the sides of your square straight and even
2. Row 1– Single Crochet (SC) into the first stitch from the stitch you are in. Make sure to insert your hook in both loops of the stitch. It might look like you have two loops, but they are part of the same stitch. Yarn over and pull through. You should have two loops on your hook, yarn over again and pull through. You should be left with one loop on your hook. SC like this in each stitch across the row to complete this row with 22 stitches. CH one as your turning stitch and turn your work to start your next row.
3. Row 2-Row 24 Repeat what you did in row 1 until 24 rows have been completed. To keep track of your rows, use a pencil and piece of paper and make a mark each time you complete a row. Cut your yarn leaving a 6-inch tail. Pull that tail through the last loop on your hook to fasten off your project.
If you have scrap yarn this is an excellent way to use it up and make something really creative. All yarns should all be acrylic, medium weight #4 yarns that are 100% machine washable.
If you use a brand of yarn other than the ones listed below you may need to adjust the pattern in terms of the number of rows or stitches. If you stay with a #4 medium yarn that is 100% acrylic and machine washable you should be fine. If you adjust the pattern/yarns just make sure the block is 6” x 6” when it is finished to facilitate connecting them.
Suggested Yarns
- Mainstays Medium Acrylic yarn-Walmart
- Red Hart Super Saver yarn-Walmart
- Impeccable Yarn by Loops and Threads-Michaels
- Big Twist Value Worsted Acrylic yarn- Joann
- Big Twist Anti Pilling Living Worsted Acrylic yarn- Joann
- Lion Brand Basic Stitch Anti Pilling Worsted Acrylic yarn- Joann/Michaels/Amazon or online.
amigurumi mushroom pattern
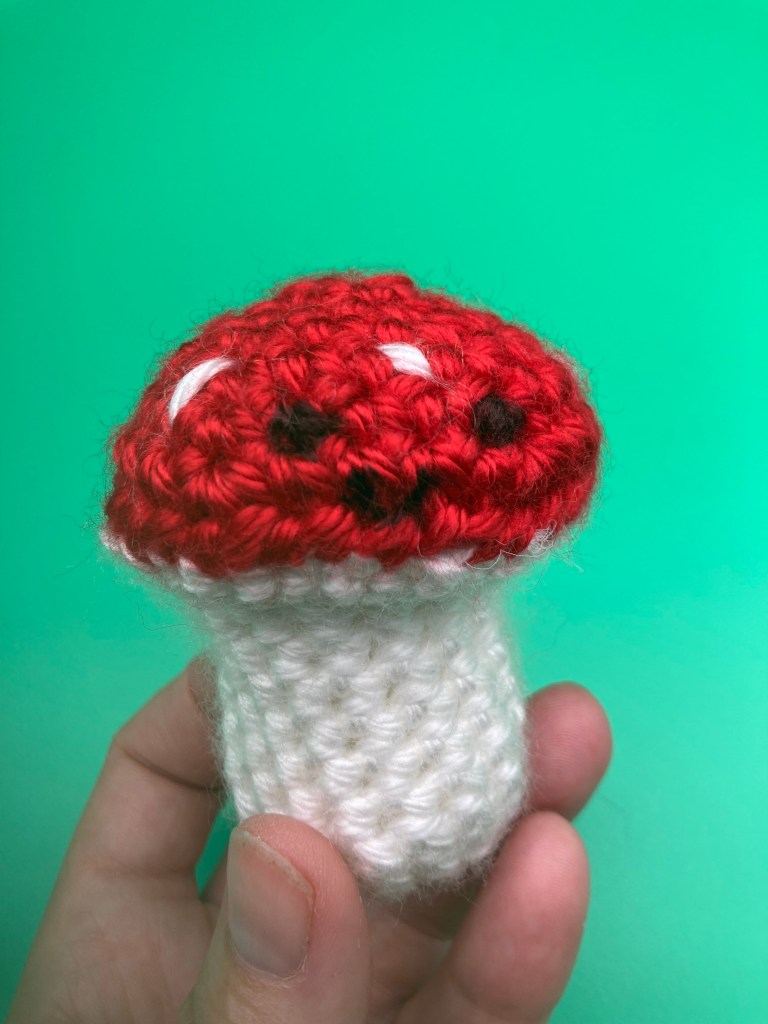
Materials: 6mm crochet hook (size J), scissors, a darning needle #16 w/round tip, stitch marker/bobby pin/safety pin, Caron Simply Soft #4 medium yarn color harvest red, Caron Simply Soft #4 medium yarn color white, fiberfill or scrap yarn for stuffing, safety eyes/black yarn/fabric markers for eyes or mouth.
For video tutorials on how to complete all the sticthes used in this pattern and more go to my crochet basics page.
Terminology Magic Circle, SN (slip knot) , CH (chain stitch), SL (slip stitch), SC (single crochet)
Stem
1. Round 1-With your white yarn make a magic circle and crochet 5 SC (single crochet) into the center. You can also make a SN (slip knot) and CH 5 and then Slip Stitch into your first chain. Then make 5 SC into the center of the small circle you have created.
2. Round 2- make 2 SC in each stitch and end the round with 10 SC total. Insert your stitch marker (whatever you are using) into the first stitch you make. It is tight at first, but when you are working in the round especially this is important to help you keep stitch count and the shape of your project.
3. Round 3- make a SC in the first stitch, then in the next stitch make 2 SC, repeat this pattern all the way around to end the round with 15 SC.
4. Rounds 4 through 8 make a SC in each stitch always ending the round with 15 stitches
5. Round 9 make 2 SC in each stitch, you should end the round with 30 stitches. You have completed your stem. Cut a 6-8 inch tail on your yarn and pull it through the loop on your hook to securely tie off. Tuck the tail inside the stem and stuff the stem with fiberfill, or scraps of yarn. Make sure to stuff enough to shape it up and make it a little firm but not too hard, it’s easy to overstuff.
The Cap
6. Round 1-With your red yarn make a magic circle and crochet 5 SC (single crochet) into the center. You can also CH 5 and then Slip Stitch into your first chain. Then make 5 SC into the center of the small circle you have created.
7. Round 2- Make 2 SC in each stitch and end the round with 10 SC.
8. Round 3- Make a SC in the first stitch, then 2 SC in the next stitch, continue this pattern all the way around to end with 15 SC.
9. Round 4- Make a SC into the first stitch, SC into the next stitch, then make 2 SC in the next stitch. Follow this pattern all the way around to end with 20 SC.
10. Round 5- Make a SC into the first 3 stitches, then make 2 SC in the 4th stitch in the round. Follow this pattern all the way around to end with 25 SC.
11. Round 6- Make a SC into the first 4 stitches, then make 2 SC into the 5th stitch in the round. Follow this pattern all the way around to end with 30 SC. Cut a long tail aprox. 18 inches and pull it through the loop on your hook to securely tie off (you will use this to secure your mushroom cap to the stem).
12. Flip your mushroom cap inside out, it will give it a more curved appearance. Before you whip stitch the top of your cap to the stem get a 12-16 inch long piece of white yarn, knot it on the inside of the cap, then use the yarn to sew 5-6 small, white lines on the outside of the cap. Secure the white yarn in a knot on the inside of the cap. If you are using yarn for the eyes or mouth, then do that at this step.
13. Thread your yarn needle with the long tale of red yarn you created and begin attaching the cap to the stem by sewing them together. Make sure to go through both parts of the stitch in the cap and the stem each time, to avoid gaps. Before you finish stitching the cap and stem together you can put a little more filling in the cap to make it “puff” up a bit. Make sure you have secured the cap to the stem, and make a knot connecting the cap and stem, hide the tail inside the mushroom center.
14. If you have already added your eyes and mouth, then you only need to use your yarn needle and hide all your tails inside the mushroom. If you are using a fabric marker to make the eyes and mouth you can add those at this step. And voila! You have a super kawaii, amigurumi mushroom. Make sure to spread the amigurumi joy!
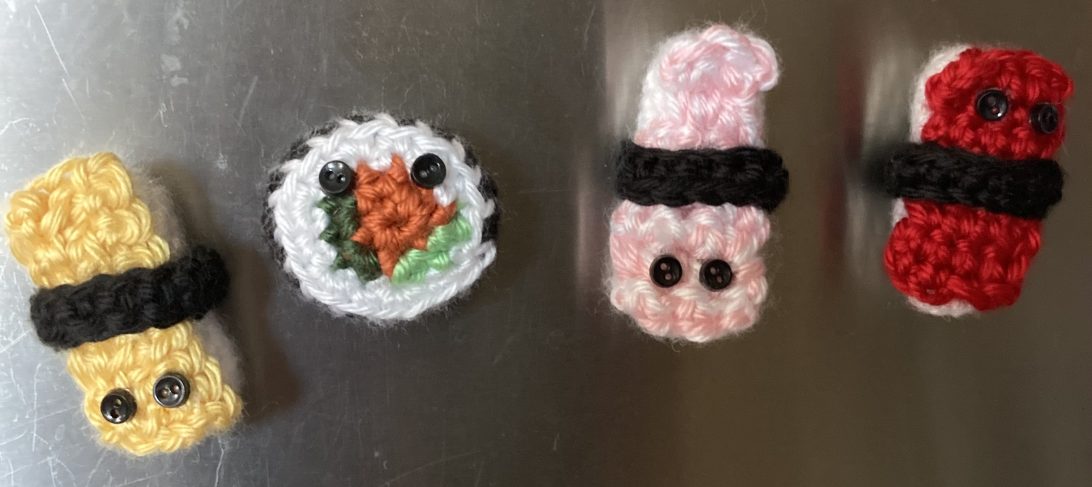
amigurumi Dumpling Pattern
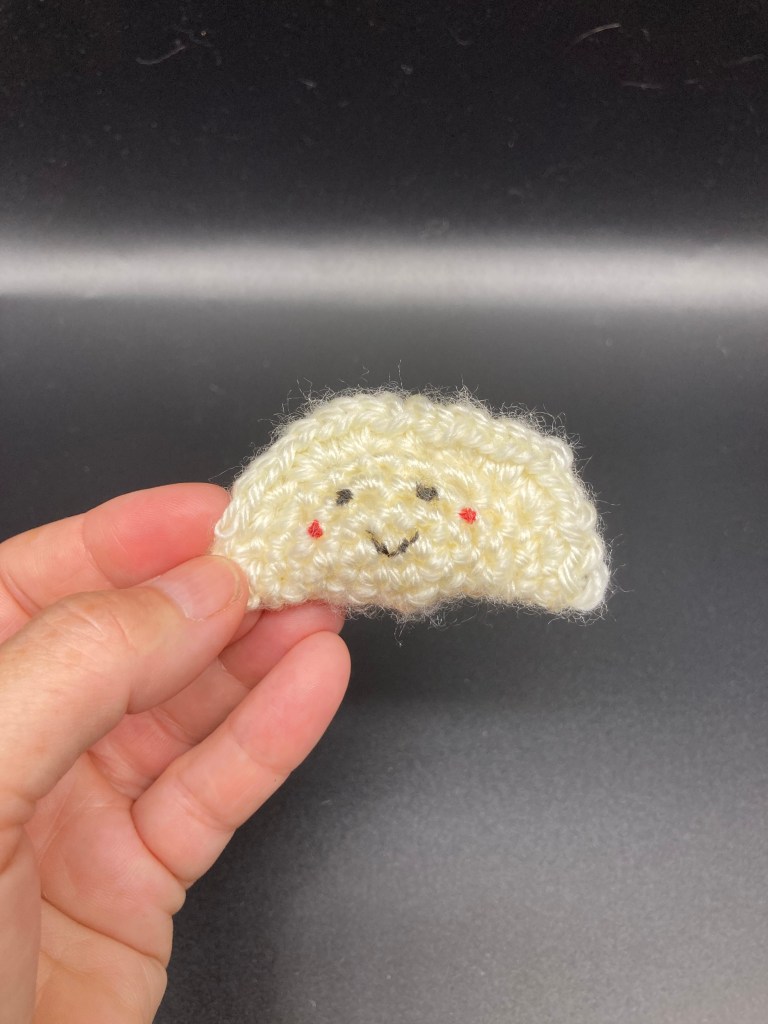
Materials: Size H 5mm crochet hook, Caron Simply Soft #4 medium yarn color off white, darning needle or plastic needle (I used size #16), a stitch marker/bobby pin/scrap yarn, scissors, scrap yarn or fiber fill , and whatever you choose to make the eyes with. You can use yarn, glue or sew buttons on, for this one I used fabric markers.
For video tutorials on how to complete all the sticthes used in this pattern and more go to my crochet basics page.
Terminology Magic Circle , SN (slip knot)CH (chain stitch), SL (slip stitch), SC (single crochet)
1. Round 1– Crochet 5 SC into a magic circle. (If you are unfamiliar with a magic circle then make a SN (slip knot) CH (chain stitch) 5 and SL (slip stitch into) the first CH. Now make 5 SC into the small hole you have created with those 4 SC. This round should end either way with 5 SC.
2. Round 2– Crochet 2 SC in each of the 5 stiches in your first round. Insert your stitch marker (whatever you are using) into the first stitch you make. It is tight at first, but when you are working in the round especially this is important to help you keep stitch count and the shape of your project. You should end with 10 SC.
3. Round 3 -. In your first stitch do 1 SC, then in the next stitch do 2 SC. Repeat this pattern all the way around to finish the round with 15 SC.
4. Round 4 – SC in the 1st stitch, SC in the 2nd stitch, then in the 3rd stitch do 2 SC. Repeat this pattern all the way around to finish the round with 20 SC.
5. Round 5 – SC in the first 3 stitches, then in the 4th stitch do 2 SC. Repeat this pattern all the way around to finish the round with 25 SC.
6. Round 6– SC in the first 4 stitches, then in the 5th stitch do 2 SC. Repeat this pattern all the way around to the finish the round with 30 SC.
7. Take the round piece you have created, flip it inside and fold it in half to form the shape of your dumpling. Flipping it inside out helps give it a good dumpling shape. You can tuck the tail of yarn that was at the beginning of your project inside the dumpling, and it will become part of the “filling”. (If you have started with a magic circle, make sure to close it tight to pull that center. Together)
8. If you wish to give your dumpling a mouth using yarn here is the time to do it. If you are using fabric markers or ultra-fine sharpies skip this step. Before you stitch your dumpling together use your yarn needle and a strand of black yarn to sew a v shaped mouth, knot that on the inside of your dumpling half circle, cut your yarn off with about a 1inch tail. Tuck those tails on the inside of the project to hide them once they are secured.
9. To seal your dumpling up you will put your crochet hook through a stitch on the front and the back at the top of your half circle. You will do 3 SC in each of the stitches that you put your hook through. Make sure to get a stitch from both sides of your half circle. Do not go all the way across the top. Stop when you are about 1/2 way across and use some fiber fill or even yarn scraps to stuff your dumpling, then complete sealing it up. Don’t overstuff, just a small amount is used to create a little shape.
10. When you have finished sealing your dumpling cut a 6or 8 inch tail from your working yarn, and pull it all the way through the last loop on your hook. Then use your needle to pull that tail through the center of your dumpling to hide it. Make sure it is hidden on both sides, then gently snip close to the end with your scissors (be careful not to cut any other yarn). The tail should pull back into the dumpling center. You can just make two little eyes with your markers, attach two small buttons with fabric glue or a glue gun. I used the red and black to draw a little mouth, eyes, and some rosy cheeks. Have fun with it and spread the amigurumi joy! And you have your kawaii amigurumi dumpling!
Amgurmi Mug coaster pattern
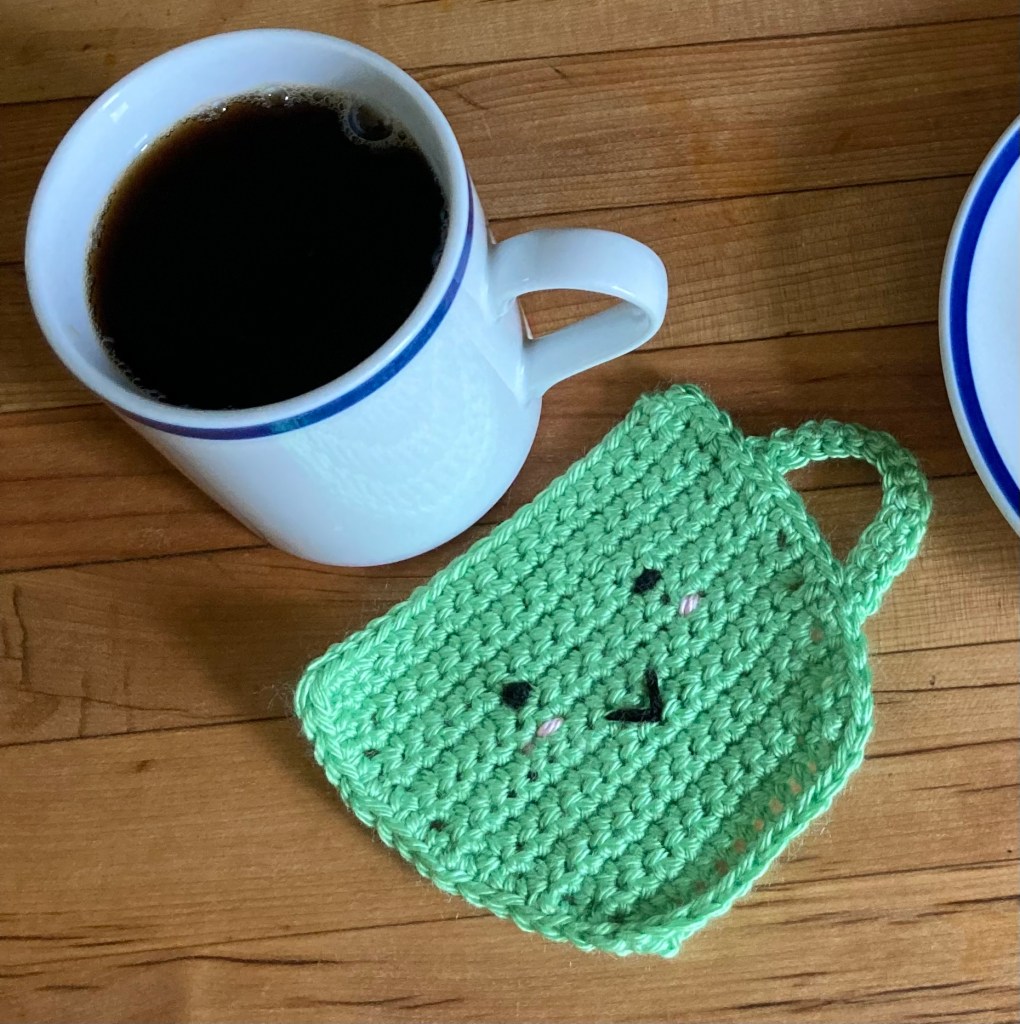
Materials: 6mm crochet hook (size J), scissors, a darning needle #16 round tip, stitch marker, Caron simply soft yarn #4 medium in whatever color you prefer (I used limelight green)), caron simply soft yarn #4 medium black for eyes and mouth if using them or fabric markers, ultrafine sharpie markers.
Terminology: SN (slip knot) CH (chain stitch) SC (single crochet)
For video tutorials on how to complete all the sticthes used in this pattern and more go to my crochet basics page.
1. Start by making a SL (slip knot) and CH (chain stitch) 13. The last stitch will be a turning stitch. To keep your piece/project even on the sides you will need to do a turning stitch with each row. 12 stitches in a row means you make 12 SC then chain one as your turning stitch.
2. Row 1– Turn your work to go back along the chain. Insert your hook in the first stitch after the one you are in. Yarn over, pull through, and you have two loops on your hook. Yarn over again and pull through. You should have just one loop on your hook. This is your first SC (single crochet). Place your stitch marker here so that you know which is your first stitch. Repeat this 11 more times to end the row with 12 SC. Chain one for your turning stitch and turn your work. Use a piece of paper and a pencil or a stitch counter to count your rows.
3. Row 2– Repeat what you did in Row 1. Finish with 12 SC and then CH 1 for your turning stitch.
4. Row 3– In the first stitch from the one you are in make 2 SC. Place your stitch marker in stitch number 1, this will help you keep count as you make increases. Make a SC in the next 10 stitches, then in the last stitch make 2 SC. You should end the row with 14 SC. CH 1 as your turning stitch. **Move that stitch marker to the first stitch each time you start a new row, to help you keep count and keep the project even.
4. Row 4– Make a SC in each stitch to complete the next row with 14 SC and CH 1 as your turning stitch.
5. Row 5– In the first stitch from the one you are in make 2 SC. Make one SC in the next 12 stitches, then in the last stitch make 2 SC. You should end the row with 16 SC. CH 1 as your turning stitch.
6. Row 6– Make a SC in each stitch to complete the next row with 16 SC and CH 1 as your turning stitch.
7. Row 7– In the first stitch from the one you are in make 2 SC. Make a SC in the next 14 stitches, then in the last stitch make 2 SC. You should end the row with 18 SC. CH 1 as your turning stitch.
8. Row 8-Row 16 Make a SC in each stich within these rows to end the row with 18 SC. Remember to make a CH at the end of each row to keep the sides even and spaced properly.
9. When you have completed the last row, you can finish the edge by make a SC stitch in each stitch across the top of the cup, down one side, across the bottom and then up the last side of the cup. Finish by cutting a 6-8 inch tail and then pulling the yarn through the last loop on your hook. Hide the tail on the bottom or back side of your coaster.
10. To make the cup handle create a slip knot and chain 15 stitches, turn and make a SC in each stitch in the chain to complete 14 SC. Finish it by cutting a 6-8 inch tail and pulling that through the last loop on your hook. Then use some extra yarn to sew the handle to side of your cup.
11. If you are using black yarn to make the eyes and mouth you can use your needle and do that now, make sure to knot the yarn securely on the back of your cup and hide the tails into the stitches on the back when you are done. You can also use fabric markers or ultrafine sharpies to make the eyes/mouth/cheeks. And there you have it, you’re amigurumi mug coaster!
